Wednesday, May 29, 2013

Messenger Purse

I'm a sucker for piping, and for orange, especially in bags. So, when I saw this pattern

http://birchfabrics.blogspot.com/2013/05/tutorial-little-hitchhiker-backpack.html
Little Hitchhiker's Backpack

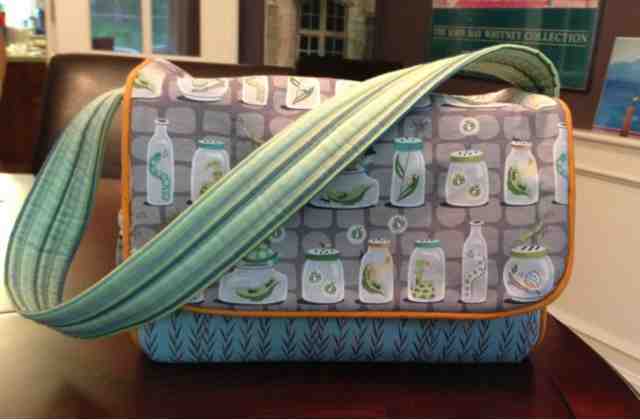
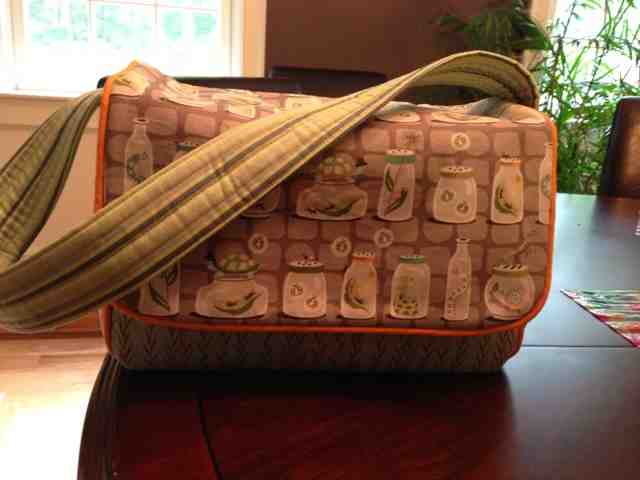
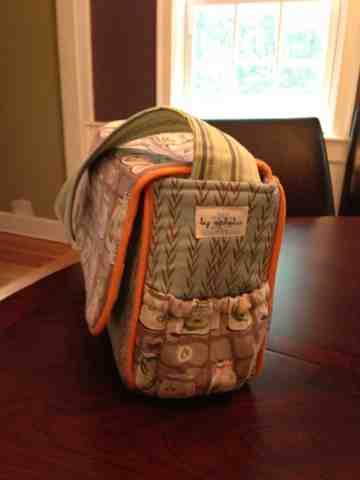
on the Birch Organic Fabric site for a little backpack, I was hooked. Problem is, though I definitely have this robot fabric in my stash, and it's adorable, I wanted a more grown-up version of the bag, with fabrics that reflect my unfailing sophistication, (hence bugs in jars.) I loved the clear directions of the pattern, written by Christina McKinney, so I re-fashioned the dimensions of the bag and eliminated the backpack part, instead sewing a single shoulder strap onto the bag, just before attaching the lining.
Here is one way I've come to gauge the success of my projects: that my two teenage girls want one, too! Fortunately, neither wants this fabric. Making another would exhaust the gray Bugs in Jars fabric that I've stashed, and if you are a textile addict, you know how the threat of using up something you love makes you feel!
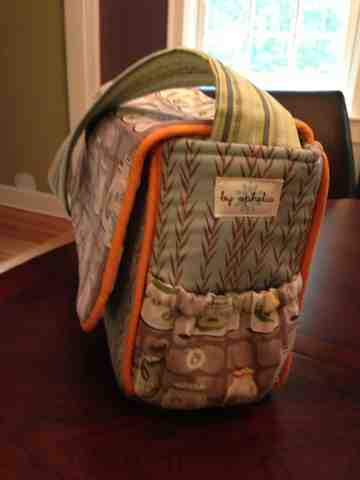
For my own edification, if I make another, I'd make the side pockets a little deeper. My iPhone sticks out an inch, and my keys have to be balled up thereby making a big bulge. Also, the lining was a little big.
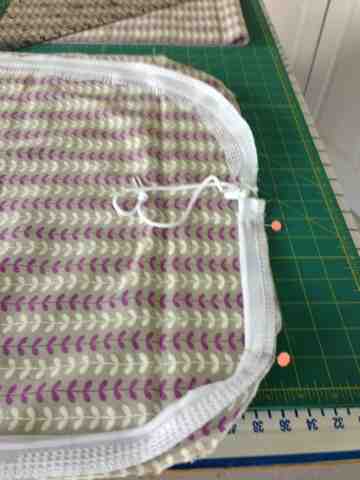
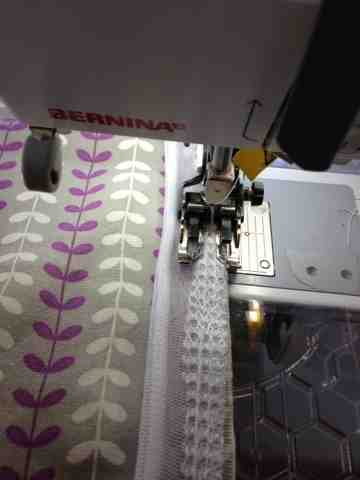
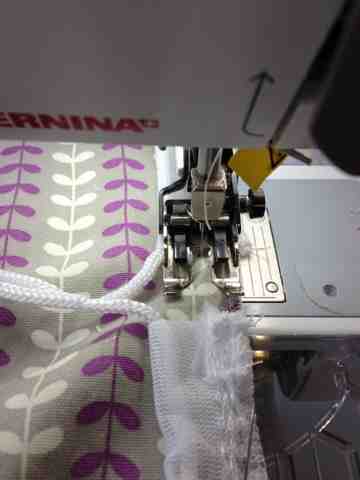
I copied this whole pattern into a Word document and then converted it to a table so I could re-write the dimensions without confusing original dimensions. If you want my new dimensions, which make a bag 12" wide, 8" tall and 4"deep, let me know. I didn't do a five piece lining, so that the seams of the lining didn't cause a ton of bulk in the corners. I did a one piece lining with boxed bottom corners.  Sophia wants a laptop bag like this, so it will have to be taller and less deep. I suppose I could insert a pocket that holds the laptop up against the back of the bag so she can fit other stuff in front. I'll wait because she only has a few more days left at Shaker Road School, where the "No backpack between classes" rule has made safe transport of her laptop a stressor. She may very well decide to use her backpack at boarding school next year.
Christine McKinney gets all the credit for this one. Brilliant.

Stash Used: 1 3/4 yards
Stash used total: 101 1/2 yards 
Stash acquired: 0 yards
Stash acquired total: 136.25 yards

Monday, May 27, 2013

Pillowcases, about which I am, again, quite smug


These are, without a doubt, the cutest pillowcases I've ever made. They may even be the cutest pillowcases I've ever seen. CPB likes to use two pillows, and since every king sheet set only includes two cases, and one's for the lovely wife, I often need...another. These are made with Patty Sloniger's Backyard Babies line, which includes those wonderful helicopters which come from oak trees, (maple?) and BUGS IN JARS!! What could be better? Yes, I'm very smug right now.

I used Nancy Zieman's tutorial, in combination with a pattern by Peggy Anne. I extended the body fabric from 27" to 36" to make these king pillowcases. 

http://www.nancyzieman.com/blog/quick-sewing-projects/sewing-with-kidssew-an-easy-pillowcase/

Stash Used: 2 3/4 yards
Stash used total: 99 3/4 yards 
Stash acquired: 0 yards
Stash acquired total: 136.25 yards


Alla's Bag


Alla, bless her heart, has fallen and broken her ankle. We will miss her while she recovers, and I hope that she feels better very soon. Please note my new tags, which I will have a hard time remembering to include on my projects in the future. I got them from a store on Etsy called "MommieMadeIt."

Stash Used: 1 1/4 yards
Stash used total: 97 yards 
Stash acquired: 0 yards
Stash acquired total: 136.25 yards


Sunday, May 26, 2013

Two cloth belts


Stash Used: .5 yards
Stash used total: 95 3/4 yards 
Stash acquired: 0 yards
Stash acquired total: 136.25 yards

Wednesday, May 22, 2013

Pieced Backing

I pieced a backing for Crystalline Frost, and it took a lot longer than if I'd chosen a backing fabric for which I had sufficient quantity. This way, though, I used up all the extra fabric from the quilt, too.

Stash Used: 3.5 yards
Stash used total: 95 1/4 yards

Stash acquired: 0 yards
Stash acquired total: 136.25 yards

Saturday, May 18, 2013

Julia's Ironing Board


I'm pretty sure my mother would have told me that they don't make ironing boards like they used to. She had this ironing board longer than I can remember, and I know that she re-covered it a few times in my lifetime. Yet what she had on there was really awful, and the wool blanket that she used as padding was filthy. I ran that blanket through the hot water wash several times and dried it in the dryer to make sure no further insult could injure it.
What makes this ironing board so fabulous is a mechanism that changes the shape of the board at the left end, (sorry lefties, this was constructed in a time that your dominant hand was no consideration to the manufacturers.) It's also much more sturdy than any board I've been able to find in my local stores.

Mechanism open...and closed, in case one wanted to iron garments, (ha!!)


So, I cut a long piece of linen/cotton blend in half lengthwise, and serged the non-selvedge edges, rounding the corners. No, I didn't measure or make a pattern. I just made sure that there was at least 2-3 inches to spare all around. Then, (this is the part Julia would have loved most,) I took the drawstring tops from the laundry bags I used in my laundry sorter, (see tutorial for that,) and cut off the mesh part, close to the seam. If you don't happen to have spare parts lying around, I'd recommend buying three large mesh laundry bags. They are less than $2 each. Purchasing nylon rope, the spring-loaded toggles, and making your own casing is going to cost more and take a lot more time.


Lay the intact, edge-finished casings out along the edges of my fabric and pin so you know there is enough, making sure there is a meeting of two ends at the top of one end so there will be a convenient place to cinch it when the ironing board is in the pointy shape.


Now, sew around the edge, taking care not to stitch on the nylon rope at any point.Use a seam allowance that will securely fasten this, but don't worry about being exact. It really doesn't matter.


When you get to the end of one casing, just backstitch to secure and move onto the next, leaving a gap between them. Backstitch the beginnings and ends of each casing.

Put it onto your ironing board and cinch all the ropes until it's snug. You may find that you need to tighten this all up after some ironing, as the lining you use will flatten and get more fitted with time.

I cut into about 2 yards of fabric, but I only used half the width. I'll make some bags and wallets out of the other half width...

Stash Used: 1 yards
Stash used total: 91 3/4 yards
Stash acquired: 0 yards
Stash acquired total: 136.25 yards

Friday, May 17, 2013

Self-Pity Textile Purchase

Rather than wallow in self-pity over how much I've been working and how little I've been playing, I bought some fabric. I've had it in my Hawthorne Threads shopping cart for a long time, and a particular fabric that was on  back-order came in, so I pulled the trigger on this load.


Also, I made 5 loyalty card holders.

Stash Used: 1 yard
Stash used total: 90 3/4 yards
Stash acquired: 9.5 yards
Stash acquired total: 136.25 yards