http://www.connectingthreads.com/tutorials/Flying_Geese-Make_em_fast-two_more_methods__D16.html
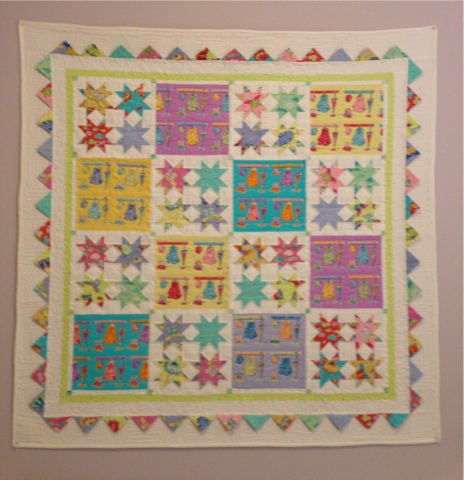
 Anybody who quilts probably knows a bunch of methods for making flying geese. My first experience with them was for a Mother's Goose Quilt that I made in 2008, called "Silver Linings." The way that was done was with half squares, made with 1" Thangles. At the time, I thought they were so clever. Pulling off those little tiny bits of paper (256 of them,) was a labor of love, done at violin lessons. . That's the last time I'll do that, I can assure you. I love that quilt though. It serves as a reminder of where I started; prairie points are adorable, and I'm so glad that I went to the trouble to do them.
Oh, but back to flying geese; then there's the method with cutting rectangles and squares, sewing the squares on, and cutting off copious amounts of waste. I really hate that, since it goes against my Yankee nature. There's no Yankee like a Chinese Yankee. That method is a step up from the thangle method.
Then there was Deb Tucker's method, which is comparatively, GENIUS. I bought her Wing Clipper ruler and used her method, smugly and happily until today. I just recently figured out where I was going wrong in that there were often geese a little short on seam allowance at the background triangles. That method, however requires that you cut a total of 5 squares to get the 4 geese.
Oh, but this method! Here it is again:
http://www.connectingthreads.com/tutorials/Flying_Geese-Make_em_fast-two_more_methods__D16.html
 It requires that you cut out two squares only, and from that you get 4 geese. It's faster than the Tucker method, but I still swear by Deb Tucker's ruler to do the final trim. Two modifications: One, I press these seams open because on little tiny geese, there will be many seams too close together, and quilting those will be a bumpy, bumpy ride. This precludes the need for clipping those seam allowances before the trimming. Two, on the trimming step, I don't cut these apart before trimming them. I use the Tucker ruler to trim both geese on the final product at the same time, being careful not to let my rotary cutter stray into the territory of the goose I'm not cutting. If anyone ever reads my blog and asks for a trimming tutorial, I will photograph those steps to make it clear. I also made a Word document with the most important photos and a table with the math all done for me so I never have to stop my audiobooks to calculate.
And here's my final "duh!" discovery: The geese and the background are opposite from the star points and backgrounds. My first experiment, I wanted to make red stars and cream backgrounds, but as you see in the bottom example, the colors came out inverted. Not to worry, that's what experiments are for!
No comments:
Post a Comment